
Fudge Friday: Coming up short on the cast-on
Long-tail is my cast-on of choice, but there’ve been plenty of times that I’ve come up short on yarn in the middle of casting on a large number of stitches. This is a trick I like to use when I just can’t estimate what the length of my tail should be - usually because there are too many stitches to cast on.

Nothing worse than the tail coming up short when you have just cast on 300 stitches and need 308!
Math Monday: Increasing - Part II - across a row
We’re ending our little mini-course on calculating increases and decreases with perhaps, the trickiest of all, increasing across a row. Not difficult to figure out, but tricky because increase placement depends on what kind of increase you’ll be working.
Let’s get the easy part out of the way first….
We want to start out with how many stitches we have on the needle at present. In other words, don’t use the final stitch count after the increases. You don’t have that many stitches yet!

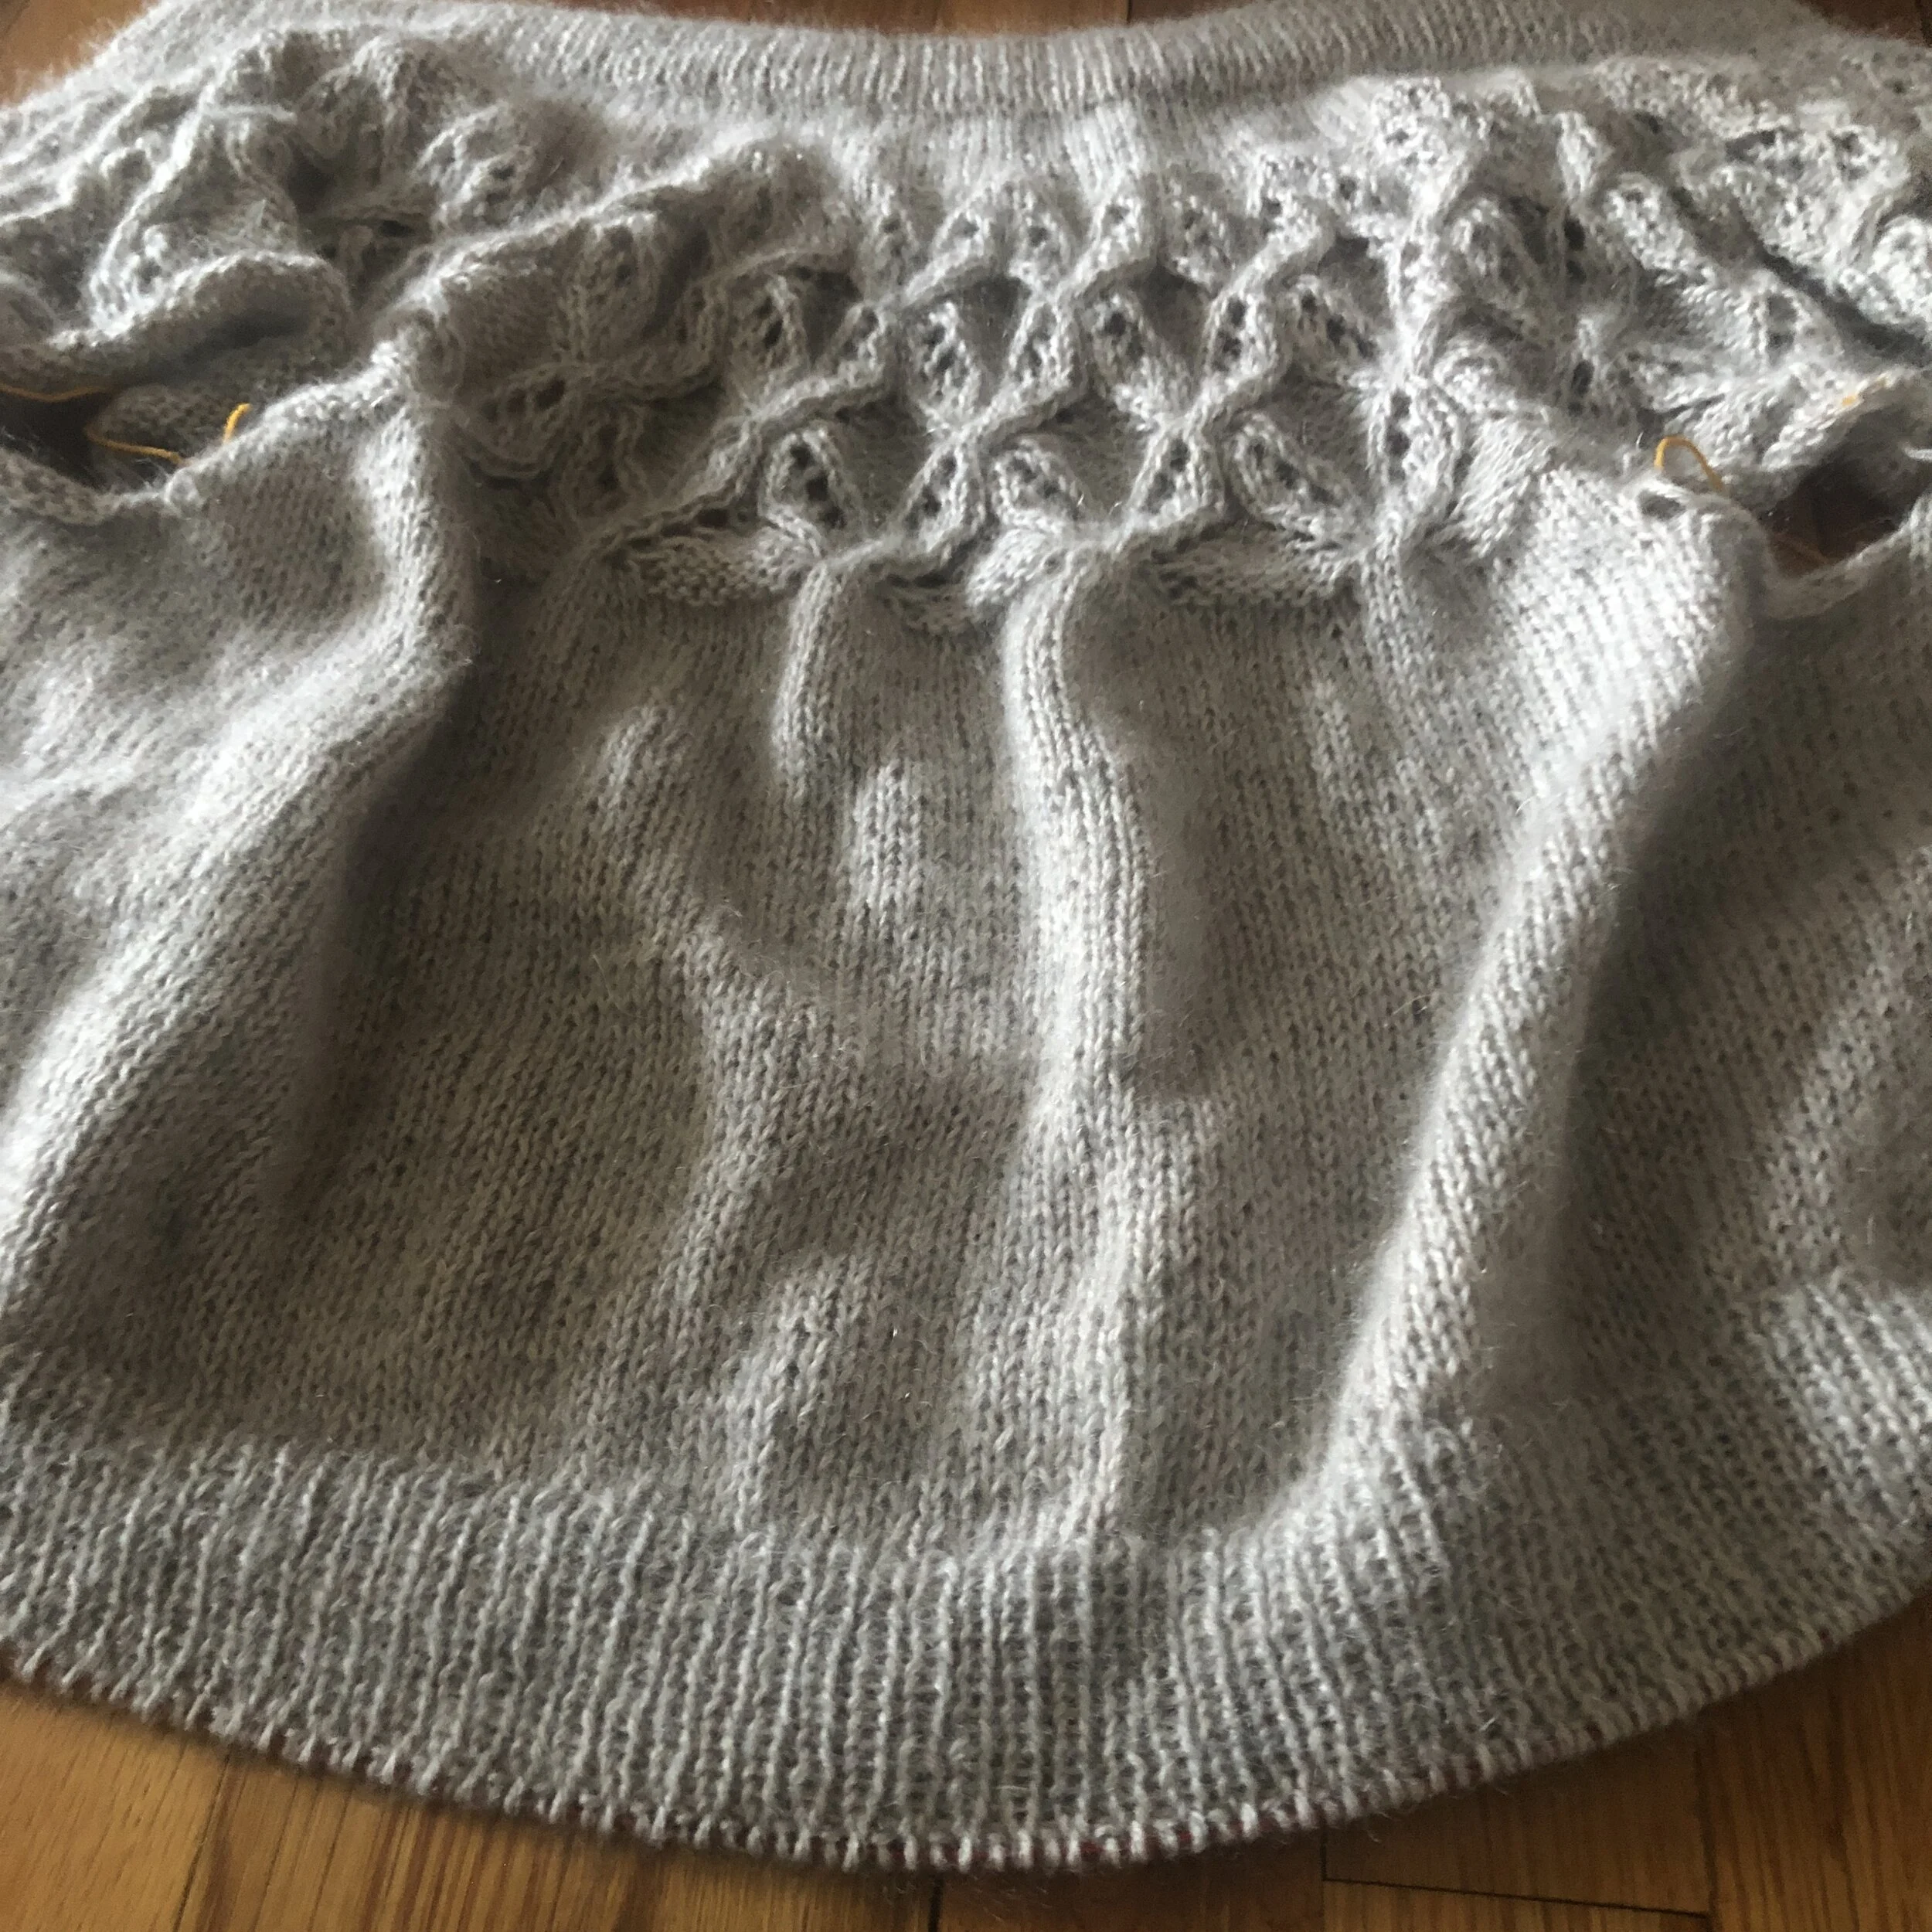
Soul Perch - a cardigan to be published spring 2021.
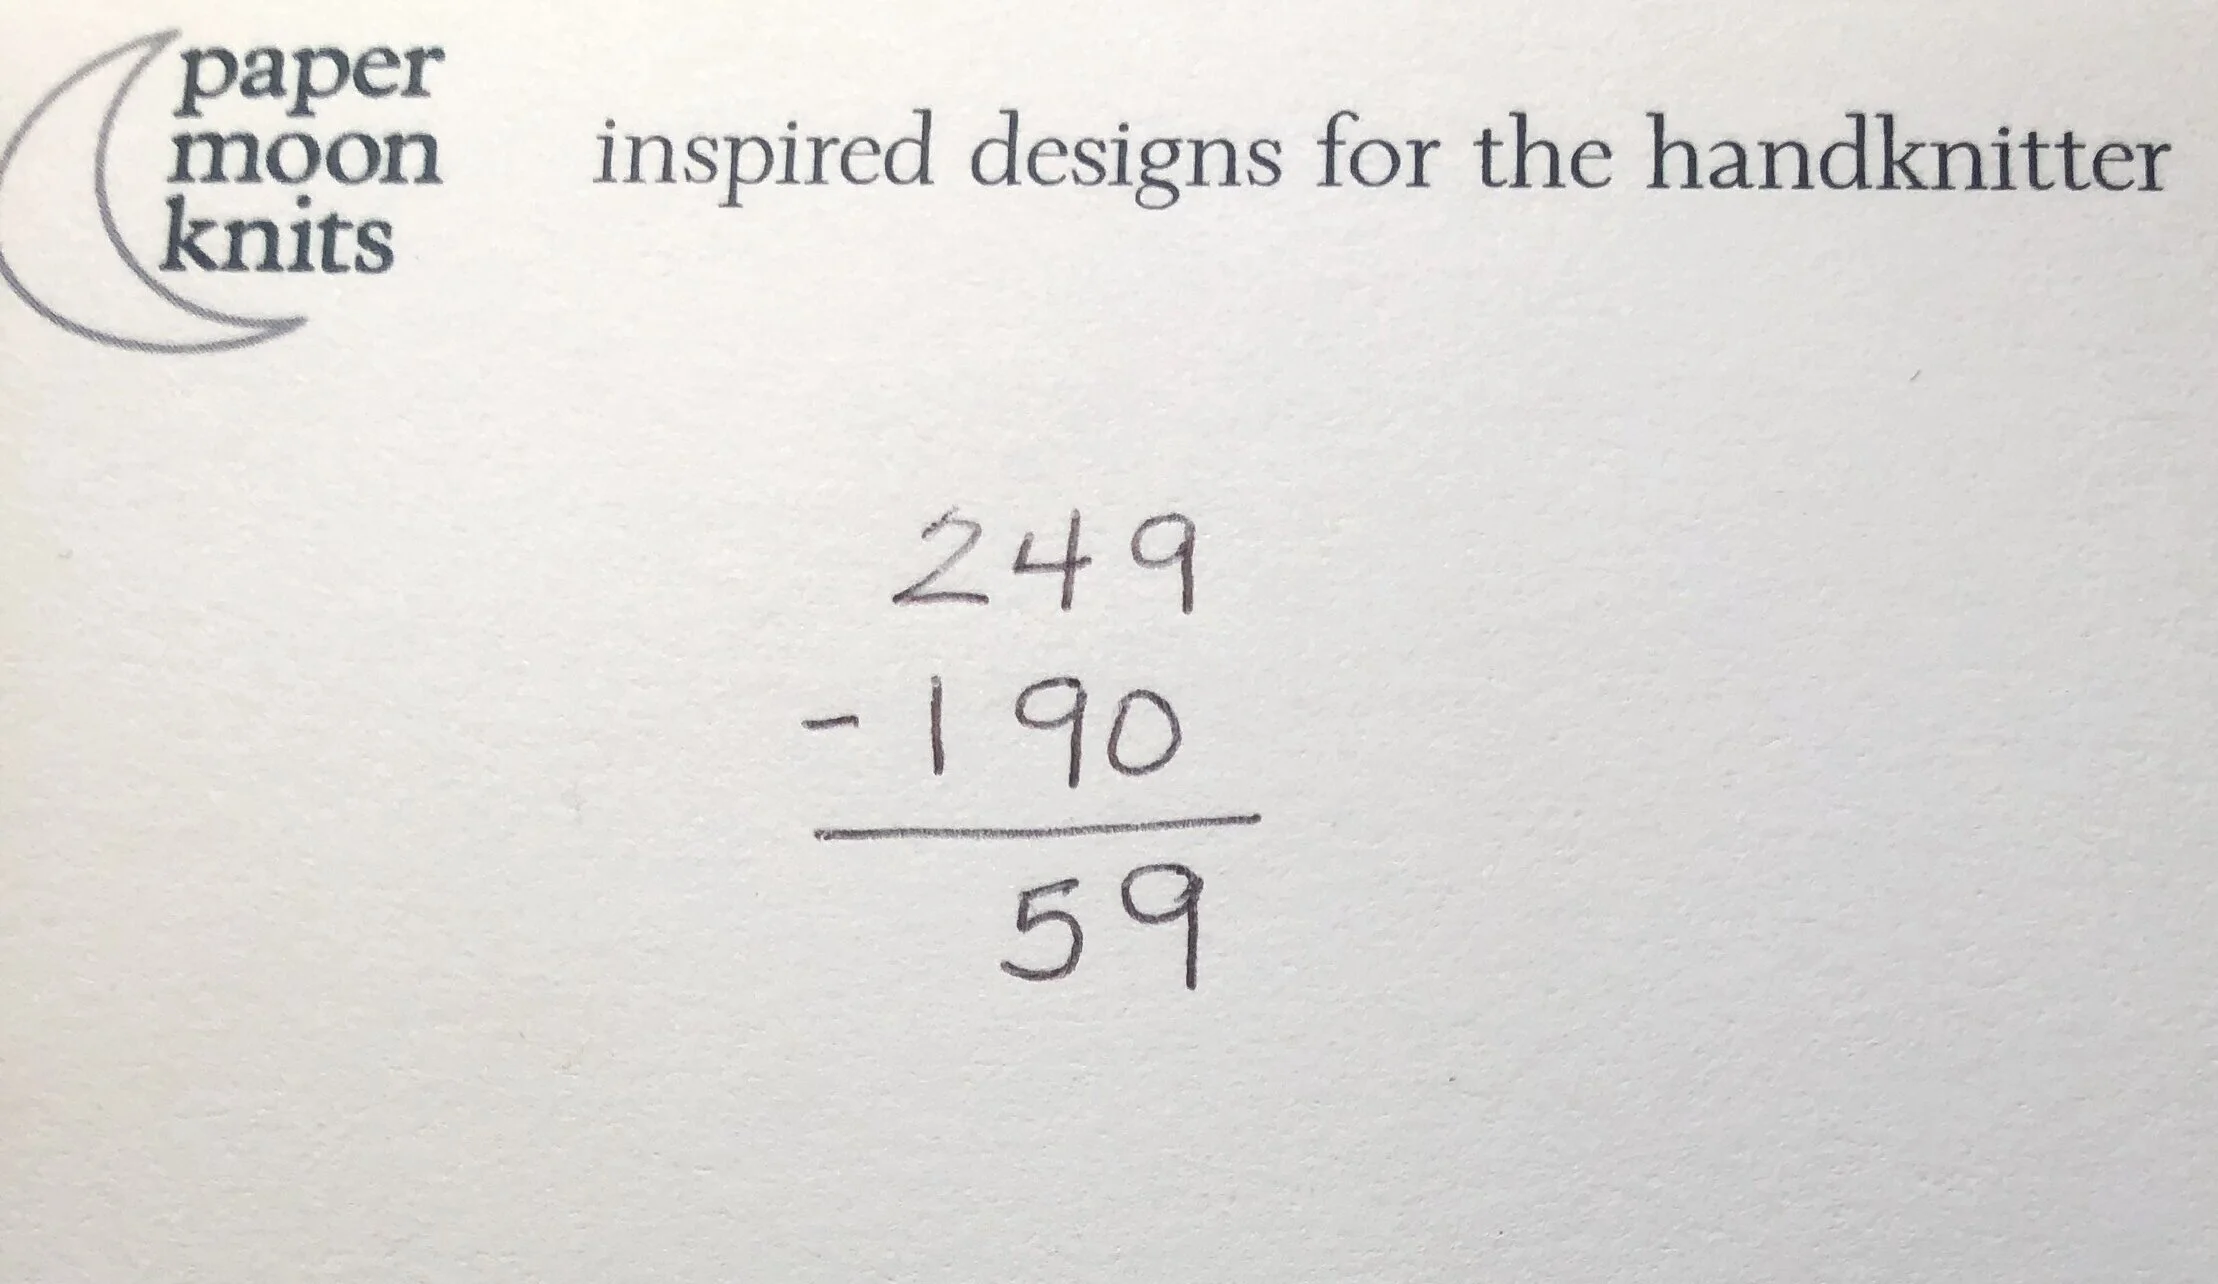
In this cardigan (to be published later this spring) which is worked from the top, we have 190 stitches on the needle for the body in Stockinette and we need 249 stitches for the ribbing.
This means we need to increase 59 stitches. {Subtract 190 from 249}
Divide 59 into what you have to work with….190 stitches.
Just like in our previous calculations, we divide; add 1 to the quotient; then subtract the remainder from the dividend and draw an X.

The formula tells us that we will increase 1 stitch every 3 stitches 46 times and every 4 stitches 13 times.
Remember our discussion on not decreasing on the first or last stitch? If you don’t, go back and read this post on decreasing across a row. We want to split that first 4 stitch increase in half and do the first one after 2 stitches.
But more importantly, we want to think about the increases we’ll use. This will help determine where to put them.
There are quite a few types of increases: knit through the front and back loop [kfb], yarn over [yo], Make 1 (and Make 1 Right and Make 1 Left [M1, M1R, M1L], and left leaning and right leaning increases [LLI, RLI].
The kfb, LLI and RLI all use the stitch on the needle itself. The yo is created with the working yarn. The M1, M1R and M1L all use the running thread between the stitches already on the needle.
Let’s use our example of placing increases every 4 stitches 13 times, and let’s also eliminate the kfb from our discussion. I rarely recommend using it unless you want the worked stitch to be a knit and the increase to be a purl.
For LLI you will make the increase in the 4th stitch by working the stitch, and then lifting the left leg of the stitch 2 rows below onto your needle to work the increase. The increase will slant left.
Left Lifted Increase - image (c) interweave.com
For the yo, M1, M1R, and M1L, you will make the increase after the 4th stitch has been worked. For the yo, just work the 4th stitch and yarn over. For the Make 1 increases, work into the running thread between the 4th and 5th stitches.
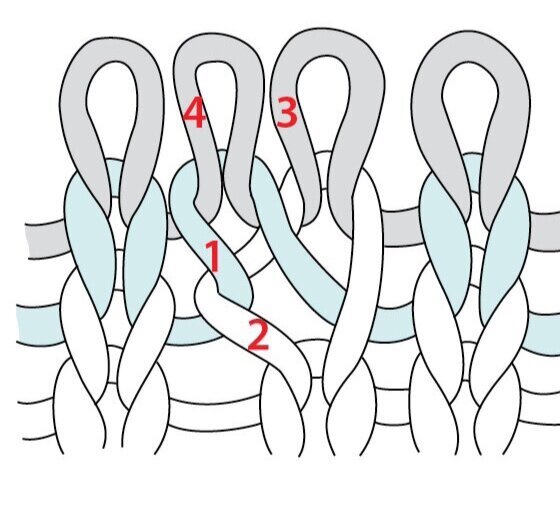
However, for the RLI, the increase is made in the 5th stitch. To work this increase, work the 4 stitches, then pick up the right leg of the stitch below the needle and knit into it, then knit the 5th stitch. The increase will be between the 4th and 5th stitch and lean right.

Right Lifted Increase - image (c) interweave.com
Next week, our math discussion turns to counting!

Designer Insider: Inspiration
Caumsett is a comfy piece in Brooklyn Tweed Shelter which makes it cozy, yet very light.
I’m often asked where I get my ideas. The unsatisfying, but truthful answer is - everywhere. It can be the yarn, something I’ve seen on the runway or in a store, what I see people wearing on the street, something in my closet that is so comfortable and well-fitting that I have to make one like it, a stitch pattern, nature, art, or an idea that someone brings to me.
For these two sweaters, it was definitely the cable that I first fell in love with.
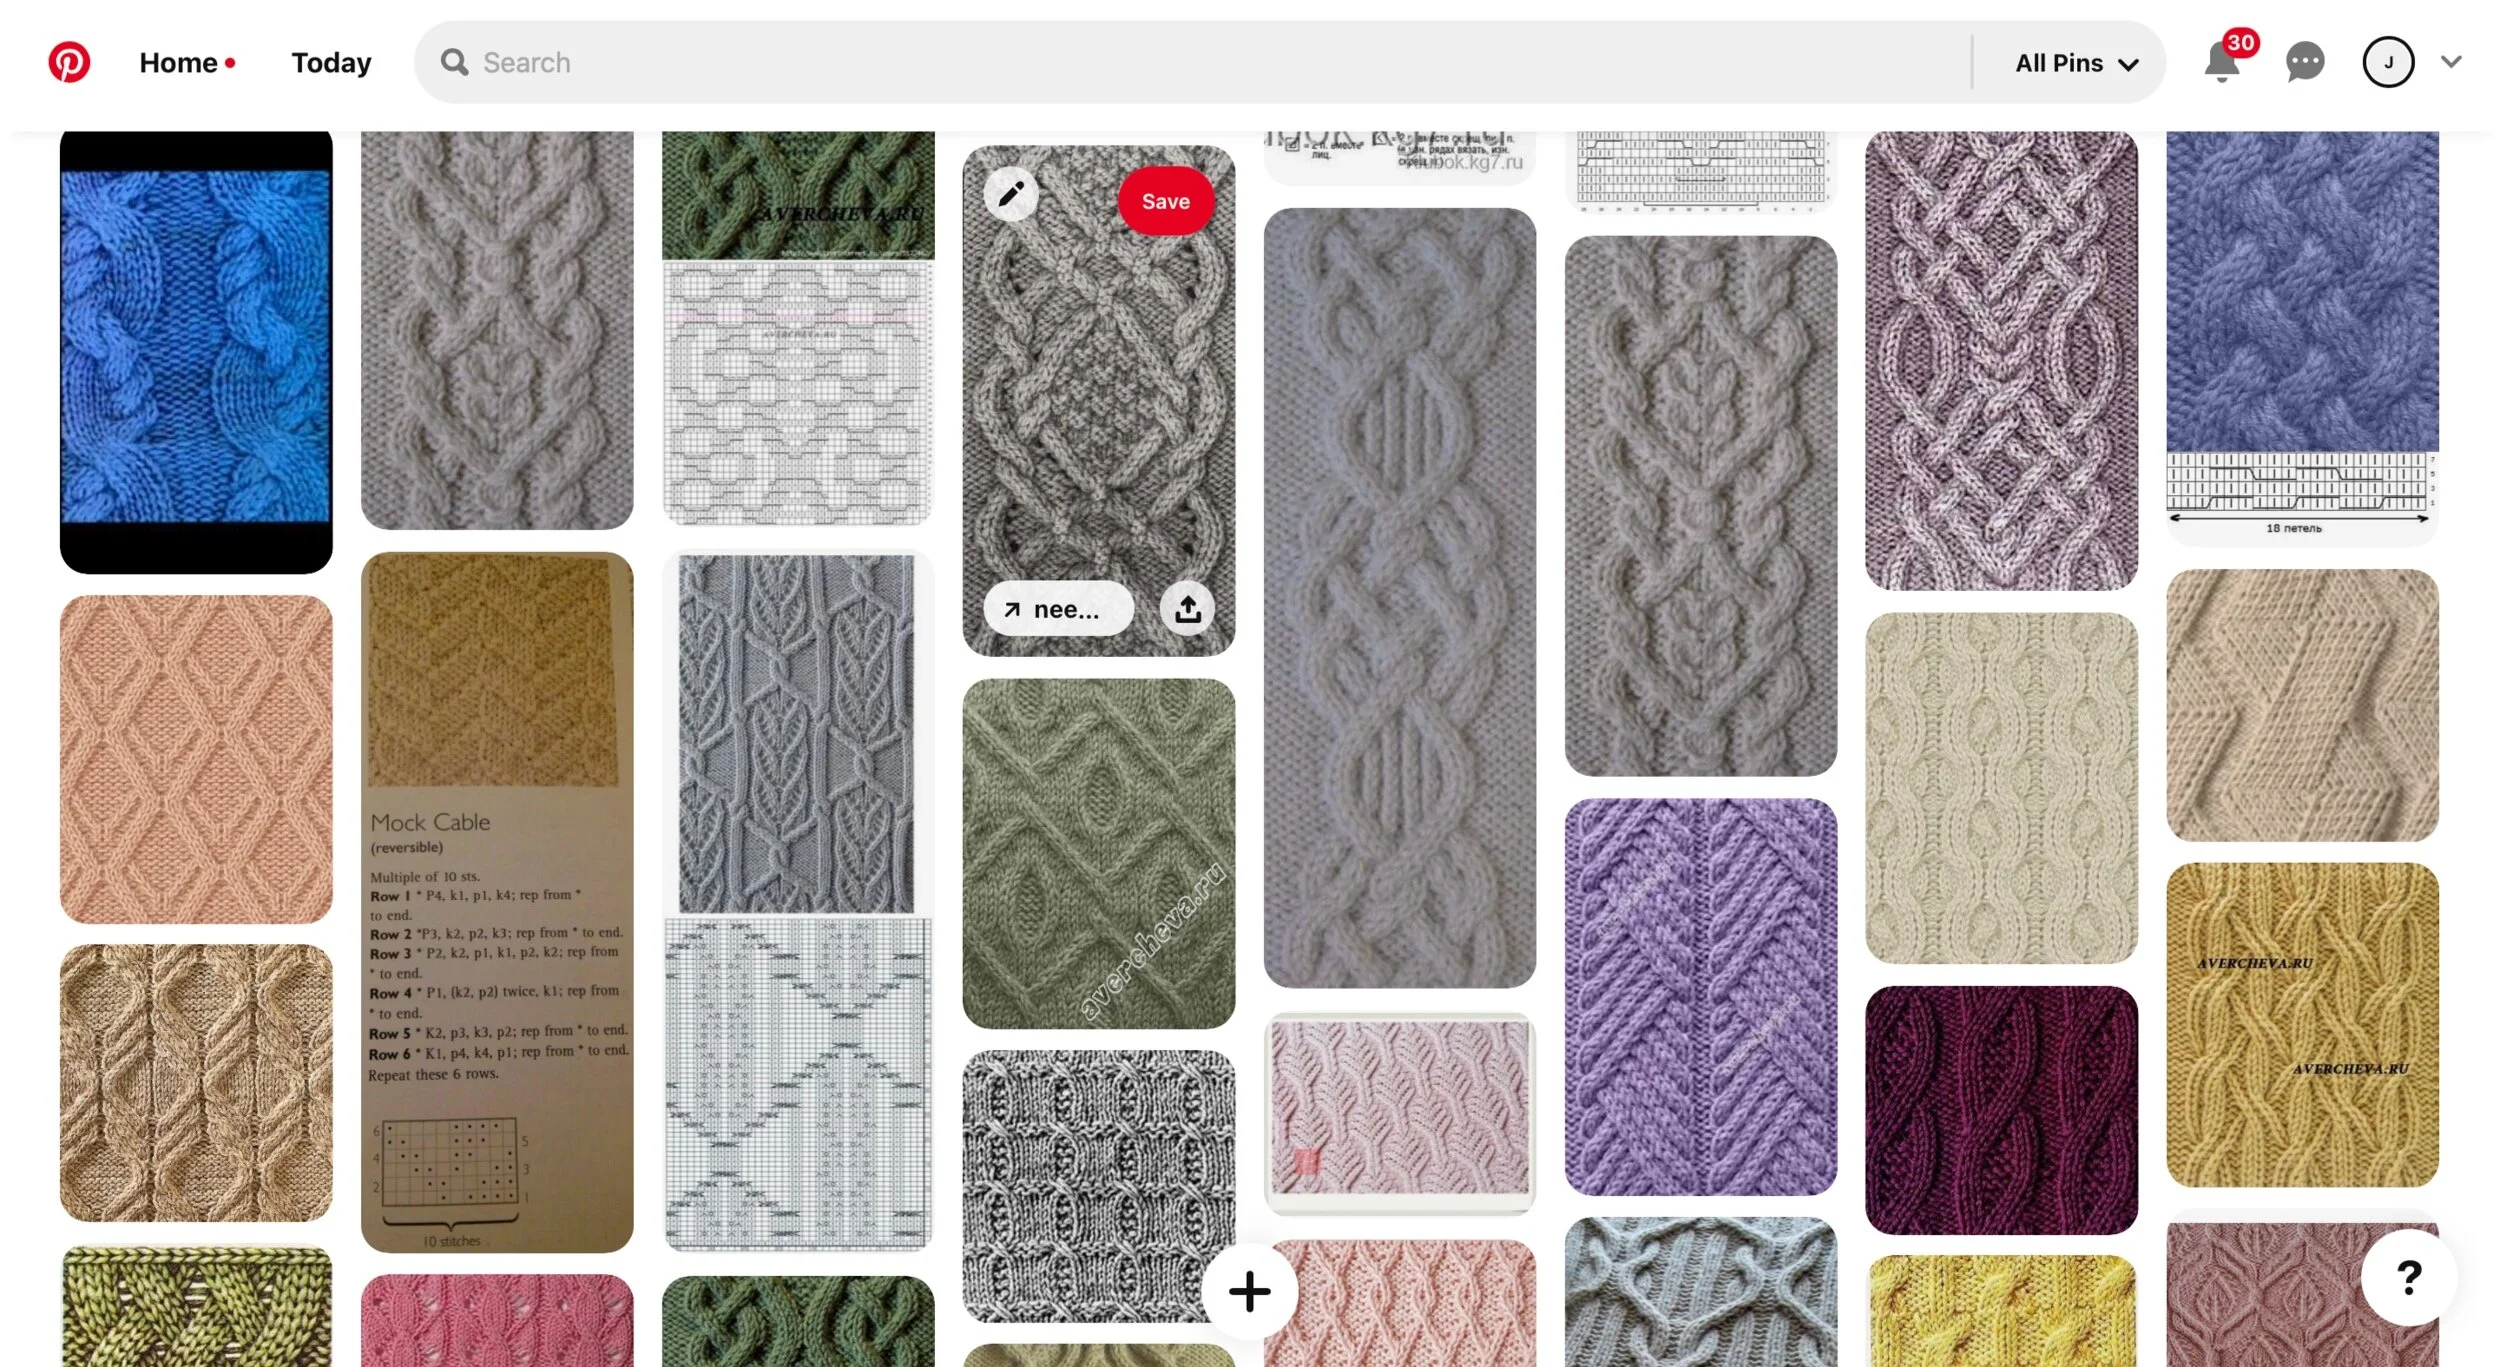
A snippet of my “secret” cable board on Pinterest.
I often go to Pinterest, just to browse around. It’s kind of like a rabbit hole or a “time suck,” but often I find interesting things to explore and catalog. It gets my brain working. Some of my boards are public, and some of them are “secret.” I like to collect cable patterns and lace patterns, especially.
When I found this cable pattern, I knew I had to use it. I wanted it to be center stage, so I designed the Greta Cardigan for Knitscene magazine. The cable’s only on one side and runs up one shoulder and down the back.

After this one came out in the autumn of 2018, I knew I had to do it again. This time as a pullover! And so I took the basics of the design and reimagined it…same yarn, same shape with a bit more ease, same great cable. You can see I really liked this one because it’s the only time I’ve ever used a stitch pattern twice.

Now that I’m looking at both of these together, it’s given me another idea - maybe I’ll take some of my many pullovers and turn them into cardigans!
See??? Inspiration can come from anywhere.

Math Monday: Increasing - Part I - along the length
A few Mondays ago, I discussed decreasing along the length of knitted fabric, and we did the calculations. Today, we’re going to do the same thing for increasing. You can read that here (in fact it might be useful if you did before you begin reading this one.)
The sleeve of Ledbetter is worked from cuff to underarm with a modified drop shoulder shaping to eliminate bulk at the underarm.
This works the exact same way, so let’s review using a new sweater that I’ll be publishing in the late summer/early fall, Ledbetter. Ledbetter’s sleeves are worked in the round from the cuff to the upper arm and then seamed onto the body. The sleeve is mostly worked in Stockinette stitch but it starts with a bit of the textured pattern - 1.5” [4cm]. The length of the entire sleeve with the cuff is 16.5” [42cm], but I’ll only be doing the increasing over the stockinette portion of the sleeve, not the cuff. That’s 15” [38cm].. As I wrote when we discussed decreasing, it’s never a good idea to immediately begin decreasing or increasing on the first row/round, and it’s never good to end them on the last row/round either. I usually begin and end with 1” [2.5cm] at the beginning and end worked even.
So, if we take out the 1.5” for the cuff and the 1” at the top and bottom the sleeve (2” total), we are left with 13” (16.5 - 1.5 - 2 = 13”). At a Stockinette row gauge of 6.75 rounds per inch, that leaves us with approximately 88 rounds with which to work {13 x 6.75 = 87.75 - I always round to the nearest even number}.
For Size 2, the cuff begins with 40 sts (9” x 4.25 sts/inch - rounded to the nearest 4 sts) and the upper arm ends with 60 sts (15” x 4 sts/inch), which means I need to increase 20 sts. Remember, these stitches are worked in sets - one at the beginning of the round, one at the end of the round. I’ll need 10 sets of 2 stitches each totaling 20 sts. However, I’ll do the very first set on the very first round since I’ve already left 1” before I’ve started the decreases I won’t need to leave more. This now brings the total down to 9 sets of decreases over 87 rounds.
I do the math just like I did for decreasing:

With this set up, you can see that you’ll have to do a increase every 9th round 3 times and every 10th round 6 times. You can decide how you’d like to set this up - you could do it as it’s laid out or you could do *every 10th round 2 times and then every 9th round once and then repeat from * twice more. All your increases will be evenly placed along that sleeve!
Of course, if you want to shorten or lengthen your sleeve, with this formula, it’s easy to do. You’ll still need the same number of increase sets (your divisor), but your dividend will change. You can use math to evenly space out your increases every time.
And this has other uses besides sleeves. You can add body shaping (waist to bust shaping (bottom up) or bust to waist (top down). for example. Or you can use this to modify a front or back neck depth or adjust an armhole.

A few thoughts before we finish…
Just like with decreasing, increases should never be placed at the very beginning or end of the row or the round. If you’re working in rows, it will be difficult to seam. If you’re working in rounds, the stitches will be distorted at the “seam line.” I usually place mine 2 stitches after the start of the row/round and 2 stitches before I end the row/round.
Another hint to make your knits aesthetically pleasing is to be sure your increases “lean” the way your sweater is growing. For example, in this sweater, the sleeve is being worked from the cuff up to the underarm, growing in circumference. Therefore, the increases at the beginning of the round should lean left and the ones at the end should lean right.
Using math to make adjustments to your knitting in this way will help you customize your garments for a more perfect fit.
Designer Insider: The Submission Process
On IG last week, some of you asked me to share a little bit about the process for submitting a design to a publication. Typically the start of the whole thing begins with the publication putting out a “call” which includes a description of the theme of the issue, in this case, “inside nature,” as well as what types of pieces they’re looking for - garments and accessories (sometimes there’s a specific number of each), a mood board and a deadline for submissions. Sometimes the call includes submissions for articles and stories on the theme.

The submission for Making Stories Magazine, Issue 5, published March 2021. You can see the finished Twisted Vines sweater on Ravelry here.
This is my submission for Making Stories - Issue 5 - Inside Nature. The editor, Hanna Lisa, is really generous with her submission timeline, providing at least a month or more, and sending out reminders. Other publications give only a few weeks.
My submissions always have 6 parts: inspiration photo(s), a sketch, a description, swatch photo(s), swatch information, as well as contact information and the heading. Each part is crucial to putting together a strong submission.

THE INSPIRATION: I keep private and public Pinterest boards with lots of inspiration. I have boards with designer knitwear, architecture, art, nature, poetry, quotes, - lots of different kinds of things. There is always something to inspire me, although it can be difficult to come up with an idea that fits the theme of the publication and is seasonally appropriate. In this case, I had these pictures of old trees with gnarled branches and vines crawling up them. They reminded me of cables and I wanted to add twisted stitches to them to mimic these trees.. I ended up only putting 2 of these photos in the actual submission.

My original sketch included a patterned back panel, which didn’t make the final cut.
THE SKETCH: With a complex stitch pattern I knew I wanted to keep things simple by highlighting only one special detail - the sleeves. I thought to maximize that detail, I would try out a saddle shoulder. This would extend the length of patterning and make a bigger impact. I had never designed a saddle shoulder sweater before, but I often don’t let things like that stop me. I had knit one, so I knew I could design one. I use a croquis that I drew years ago to keep things simple. I make copies of the croquis and then layer on the knits. I’ve found that using the croquis helps me concentrate on the sweater without worrying about the proportions of the body. You can see she’s kind of faceless, too. Faces cause distractions.

I also did a Stockinette stitch swatch. That’s important as most of the sweater is Stockinette.
THE SWATCH: Now it was time to swatch. I love DK weight yarn and the one I used for this is a blend of cotton and wool - The Plucky Knitter Crew. I love it. It was a deep, forest-y green that I thought fit the call, and the yarn has a tight twist which makes the stitch definition really good. The blend of cotton and wool, which takes the dye differently, gave it a subtle shift of color, but didn’t detract from the cabling. I also knew the cable pattern I used had to be intricate, but couldn’t be an unreasonable number of rows. I had to get a good number of repeats in the length of the sleeve. I also knew I wanted to pair a complicated cable with a simpler one at each side. After trying out a few different stitch patterns, I decided on this one. After knitting the swatch, I washed, blocked, and photographed it. I did the same with a Stockinette stitch swatch.
SWATCH INFORMATION: It’s important to the editors to know what yarn you used even if they’re not going to use it in the publication itself. Yarn affects everything: size, drape, stitch definition, choices of color, etc. So I always include the name of the yarn, yarn composition, the color I’ve used, the needle I’ve used to knit each swatch and the stitch and row gauge for each swatch I’ve included.
DESCRIPTION: I now spend some time thinking about how I would need to knit the garment or accessory in order to “bring it to life.” I always think first of whether I can knit a garment top down and if it can be knitted seamlessly, as this is the way most knitters want to knit. However, sometimes an idea will be overly and unnecessarily complicated by doing it this way. I find simpler is always better and there are times when a design needs to be knitted bottom up or with seams for just that reason. For accessories, I usually just think about how I want to knit it. After I give these things some thought, I write out a sequence of knitting steps: first, second, third, etc. involved. Once these thing are done, I write my description. I like to do a combination of aesthetics with practical construction details, along with some suggestions for the yarn to use.
HEADING AND CONTACT INFORMATION: You might think this isn’t critical, but it is. I always include the name of the publication, the issue and the theme of the issue and I always name my designs. It makes the submission more special. It’s also crucial to include your contact information in case your submission gets separated from the email you sent. I always include my physical address and phone number because the publication will need that when they arrange for your yarn to be shipped out to you. (You can’t see those in the image because I’ve blocked them out!) Finally, I make sure there are links to my Ravelry design page and my website so the editors can check out my work if they’re unfamiliar with it.
If you’ve gotten all the way through this, I’d love to hear from you - especially if you design too or are planning to design. Tell me what your process is.

Math Monday: Decreasing - Part II - across a row/round
In the last installment of MATH MONDAY, I wrote about the formula for calculating decreases along a specific length. (Go back and review that, if you’d like, but we’re going to do it again in a different iteration.) We started out with a slightly more difficult example. Today, I’m going to be sharing how you evenly place decreases across a row or a round.

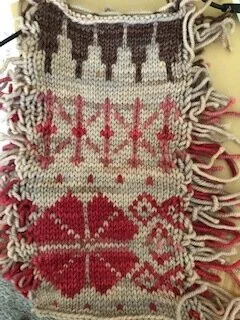
This is Barnstorm. The sleeves are a bit unusual.
Before we start, here’s a little bit about the sweater so we can work with the numbers: Barnstorm is a favorite of mine. I love the unique yoke patterning and ribbing. If you’re a sweater knitter, you know that typically, you need to decrease when you transition from ribbing to stockinette. Barnstorm is worked bottom up and has a split hem. The front and back hems are knitted flat in ribbing and then joined to work in the round. The rest of the body to the underarms is knit in stockinette. The sleeves have a split at the cuff, but follow the same sequence - ribbing flat, stockinette in the round to the underarm.

Sleeve detail in Barnstorm
We’ll be working on the sleeve decreases today. For this size the sleeves go from 55 sts to 38 sts. If we subtract these two numbers, we know we’ll need to decrease 17 sts across the row. We then set up our division equation, just like last time. We use 55 because this is how many stitches are starting with.
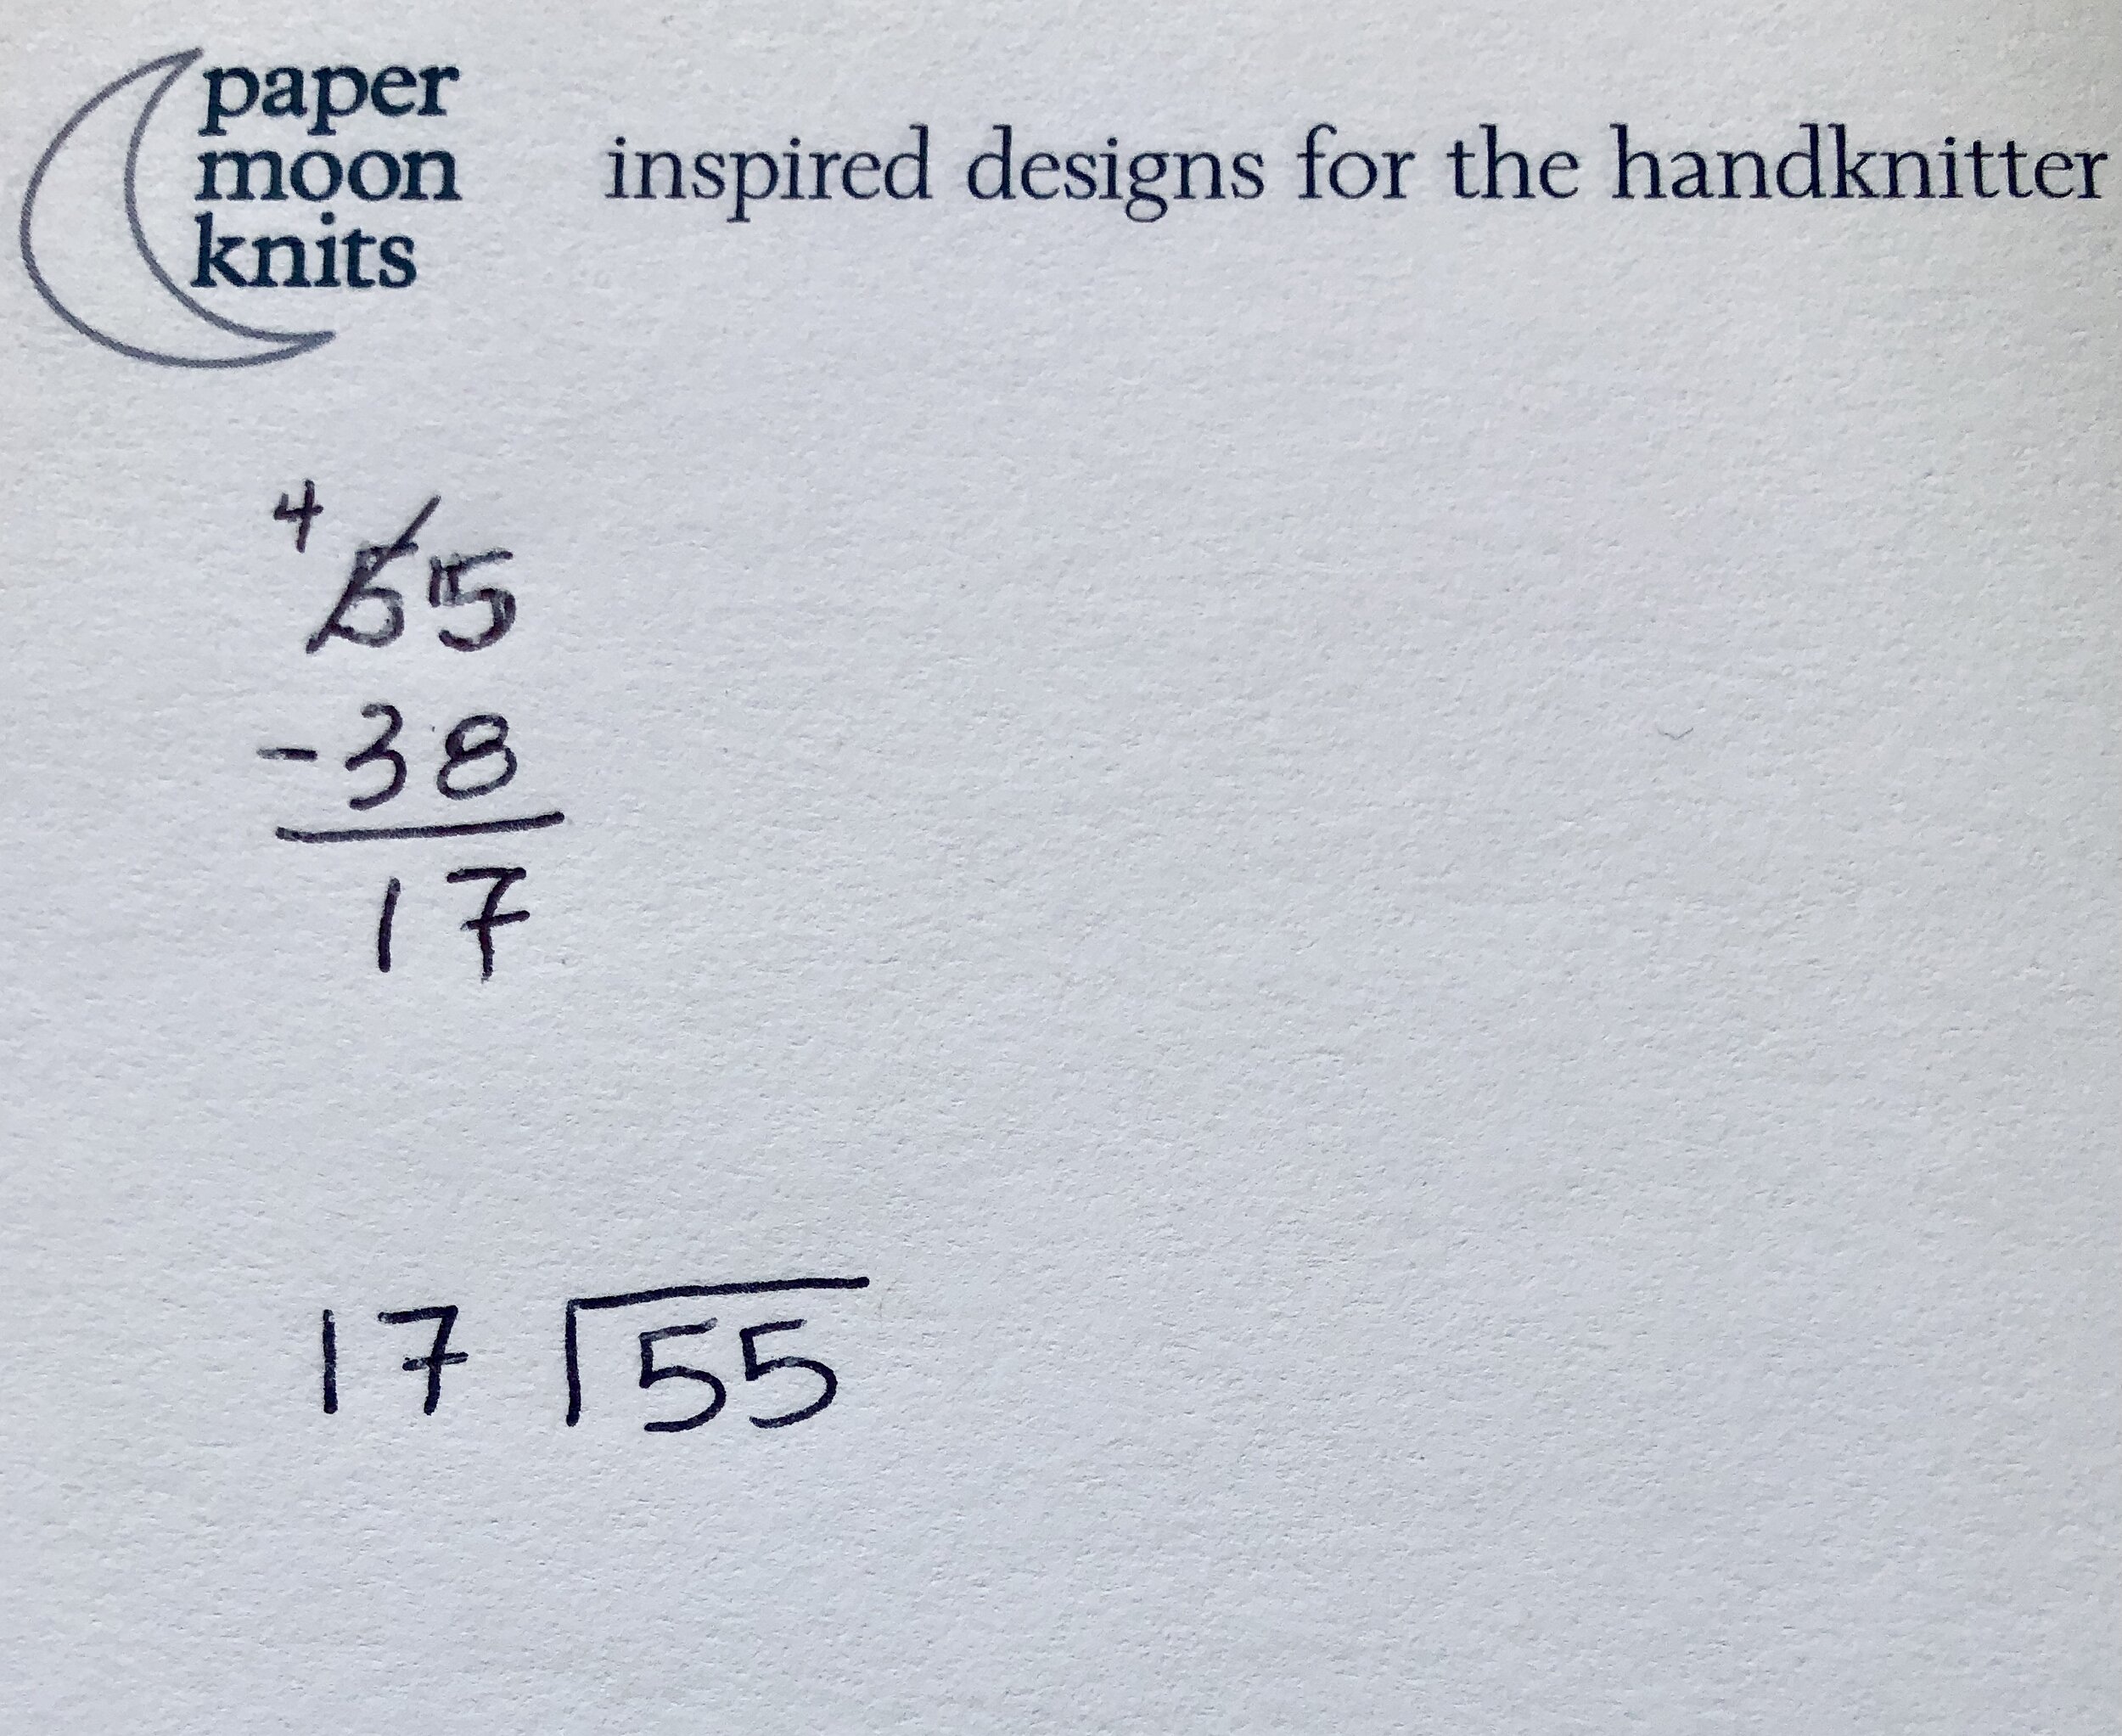
Just like last week, we solve the equation, adding 1 to the quotient and then subtracting the remainder from the divisor.

Draw the X from quotient to secondary remainder and from quotient + 1 to the remainder. We now know we have to decrease every 4th stitch 4 times and every 3rd stitch 13 times. This is a little different than last week because we are decreasing over stitches and not rows.

The first thing I want to say is that working a decrease every 4th stitch does not mean you work 4 sts and then do a decrease! It means that the decrease needs to occur so that the last worked stitch is stitch number 4.
In this case, if you’re using a k2tog decrease, you would k2, then k2tog. This would use 4 sts. If you’re working a decrease every 3rd stitch, you would k1, then k2tog. This would use 3 stitches. Remember, you only have 55 stitches to get all these decreases in.
Now for the execution. There are a number of different ways to do this. The first way is to just do the decreases as written - every 3rd stitch 13 times and every 4th stitch 4 times.
The second way would be to intersperse the every 4th between the every 3rd in a sort of even way. So every 3rd stitch 4 times, then every 4th stitch once, then every 3rd 4 times, then ever 4th once…. Four doesn’t divide evenly into 13 so you’d still have a bit of unevenness in this, and it involves math that isn’t really necessary - no one will really notice whether you’re decreasing on the 3rd or 4th stitch, except if they’re using a magnifying glass. I don’t like either of these ways because your final decrease will be on the very last stitch. Not a great idea!
Here’s what I like to do:
First I take the decrease that I’m going to do fewer times, in this case the 4th stitch every 4x, and I divide that in half. I’ll do this decrease 2x at the beginning of the row and then 2x at the end with the 13 decreases every 3rd stitch in between. Before I get started though, I want to make sure I don’t end up with a decrease on the very last stitch, so I’ll split that first decrease in half. Instead of doing it at the 4th stitch, I’ll do it at the 2nd. This works when the first decrease is more than 2 stitches because if I do this, then I’ll have to start out with a decrease at the very beginning of the row (remember, the last stitch of the decrease will have to be on stitch 2 which means I’ll start out with a k2tog) - also not a good idea.
So what I’ll do in this case is k1, k2tog as my very first 4 stitch decrease - (I know it’s really only 3 stitches). Then I’ll do k2, k2tog (my second 4-stitch decrease). Then I’ll do k1, k2tog 13 times. Then I’ll do k2, k2tog 2 times (as my last two 4-stitch decreases and I have 1 stitch left over. The beginning and the end of the row have the same number of stitches!
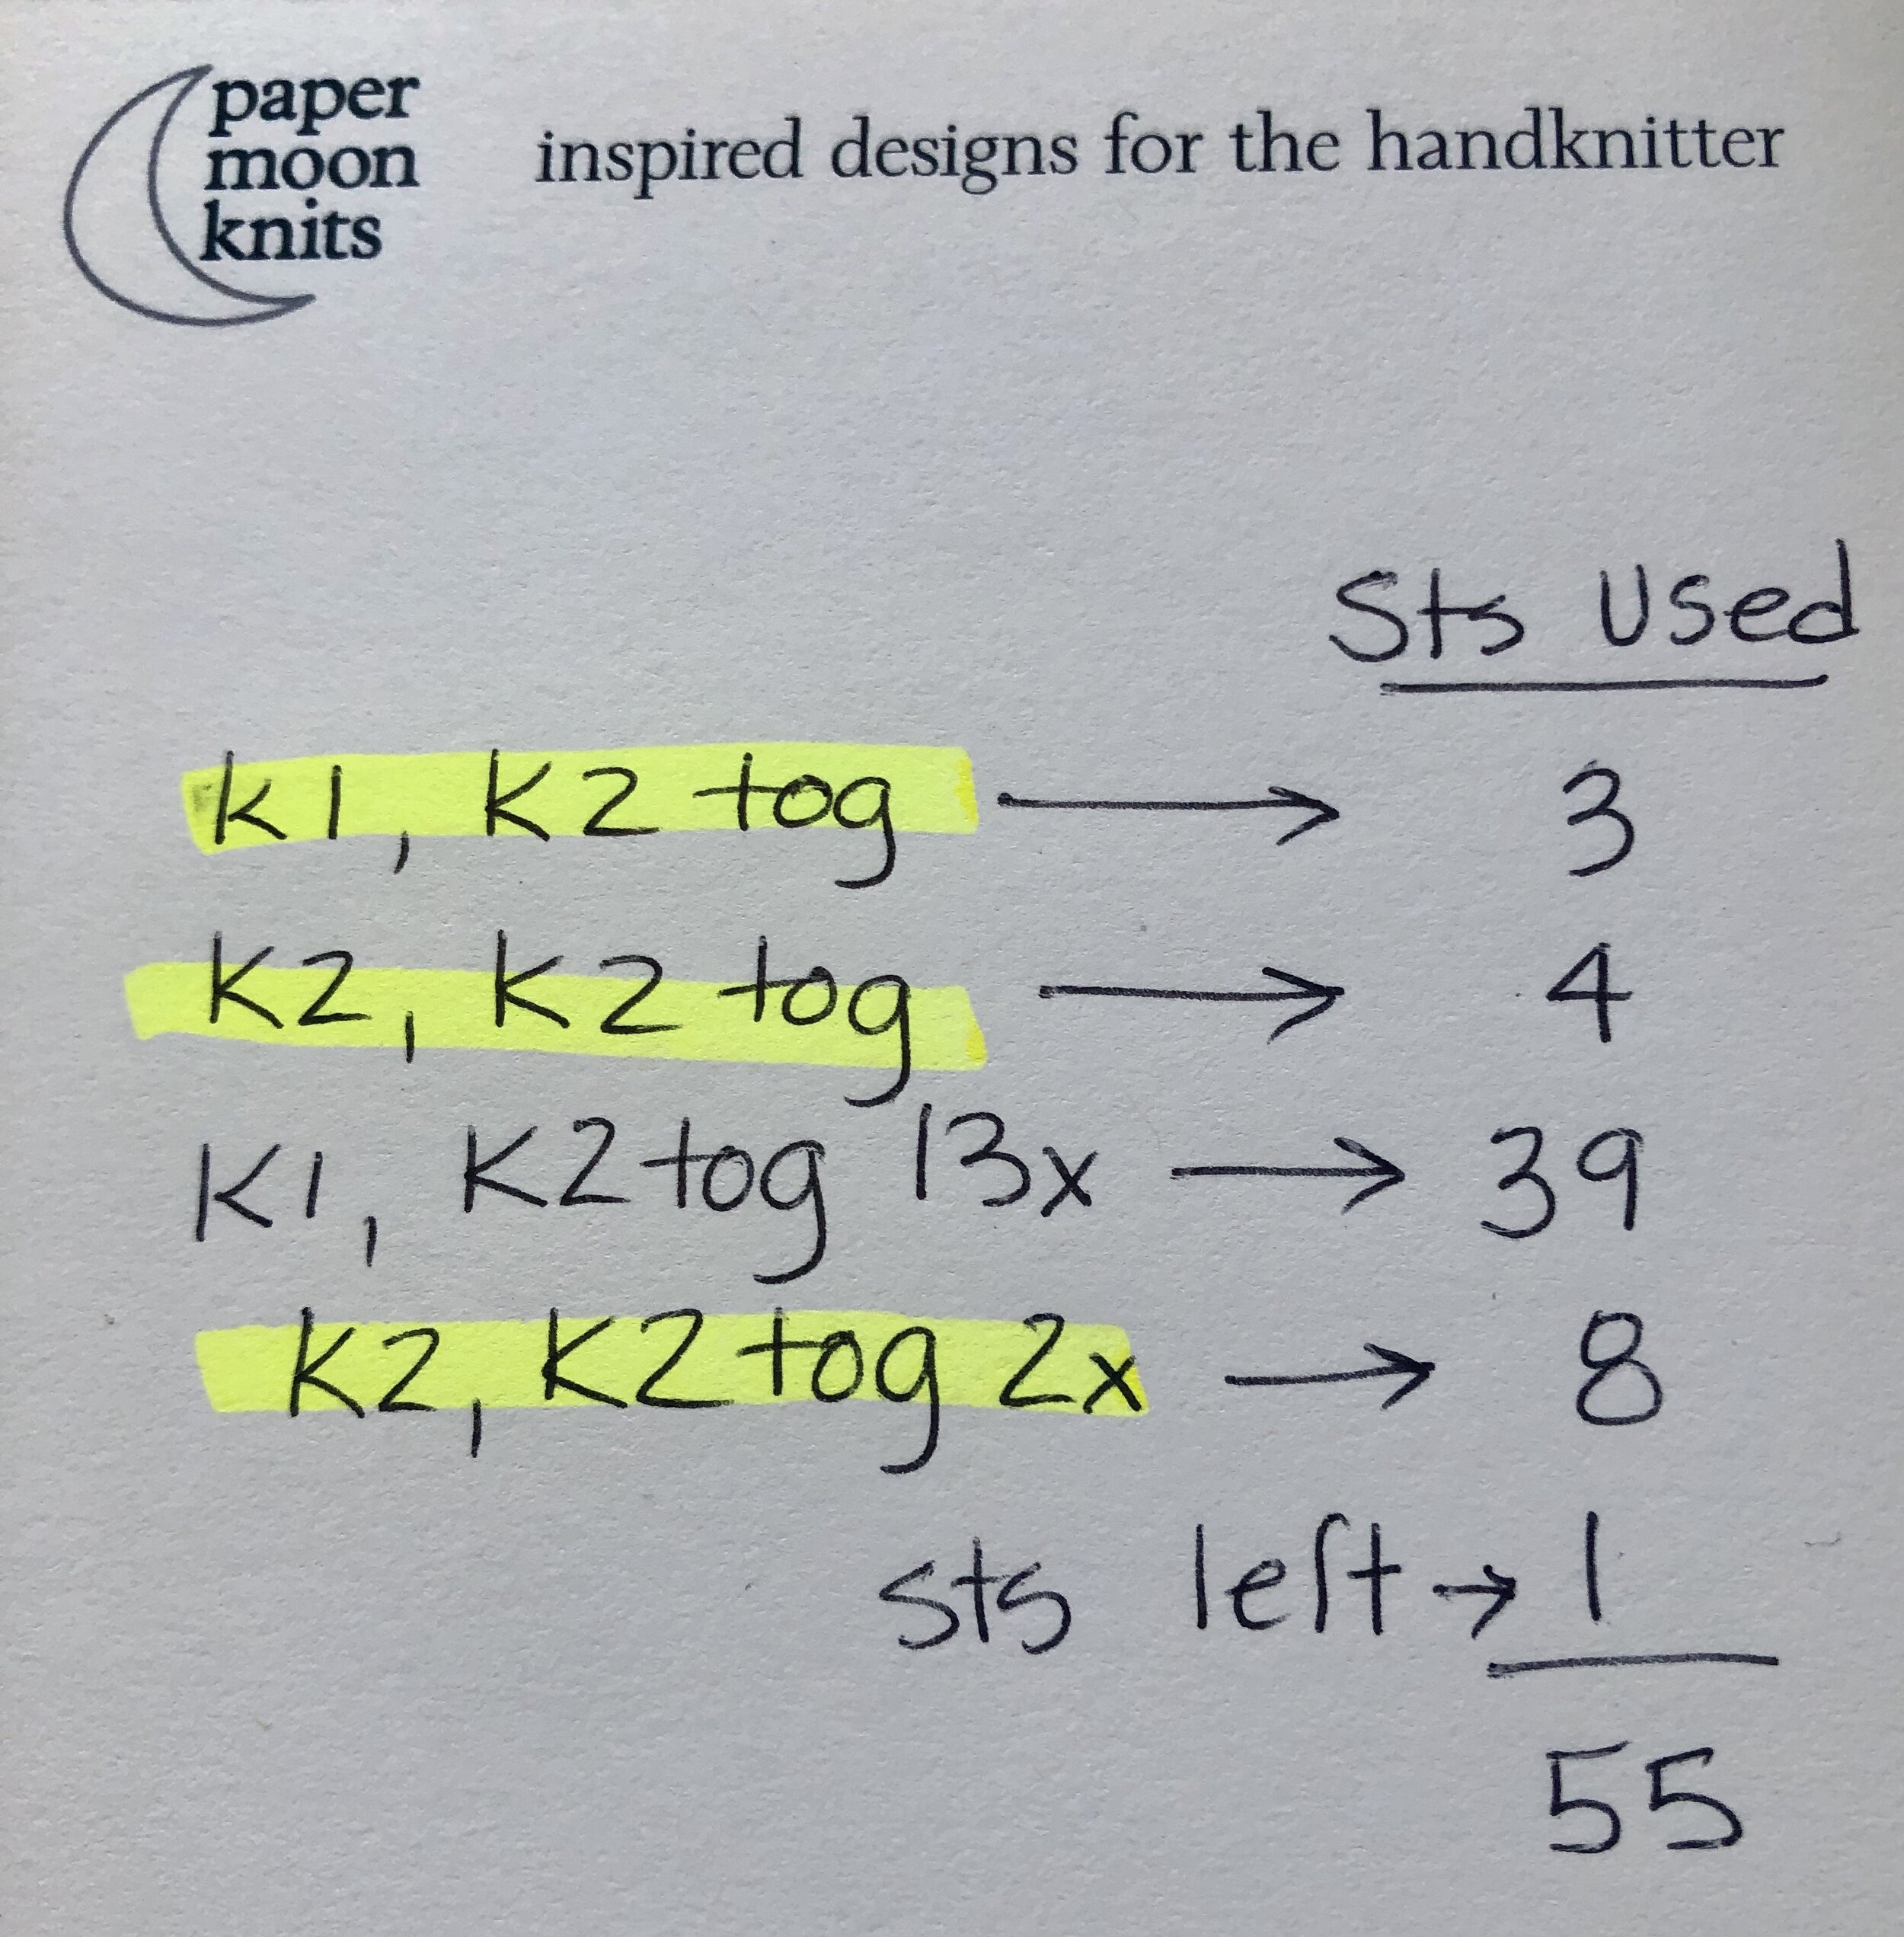
The proof is in the math! The highlighted lines show the 4-stitch decreases done 4 times.
The beauty of this method is that it works the same way for knitting flat as knitting in the round. The one stitch at the beginning and end of the round equal 2 stitches between the k2togs.

Fudge Friday: Whatsa matter, yoke?

Riparia, with it’s floral yoke was ultimately a fun design that taught me quite a bit.
You might know there are a few ways to construct a yoke sweater. What’s a yoke you may ask? It’s a sweater in which the part above the armholes looks somewhat like a cone.

This is the schematic for Riparia, a yoke pullover. It’s upside down on purpose - because it’s worked from the top down.
When a yoke pullover is worked from the bottom up, 3 tubes are constructed are constructed first - the body and both sleeves. They are then joined and the yoke is completed with decreases to the neck, circularly in one piece.
Riparia is constructed from the top down, meaning that first the yoke is constructed - with increases, then the yoke is separated into 3 parts - body and sleeves - and then the pullover is finished by knitting 3 tubes.
Swatching for Riparia.
Now you can insert those yoke increases (or decreases) in a couple of ways, but the only way I knew about was the way I learned: increase between solid resting rows. In the swatch above, you can see the grayish taupe solid rows were where I inserted the increases.
However, you can also see that the pattern is not centered. When you get to the flower, it looks off.
So I wrote the pattern and handed it off to a sample knitter - not something I usually do. She wrote back to tell me it looked off, although the stitch counts worked. Enter my tech editor.
With one look, she told me I’d have to create wedge increases. What’s that you say? Think of a pie and then mark the slices. This is what wedge increases create. Instead of putting all the decreases you need in one round, you put them in in each wedge, like this:

Here’s the wedge representing one pattern repeat. The curls indicate increase placement and the wedge grows from 6 sts to 14 sts.
The stacked motifs are always centered in a wedge yoke design.

Here you can see that the yoke motifs are now centered as they are stacked.
I love how Riparia turned out, but it was a long road to get there. The good news was that I learned that there’s more than one way to construct a yoke.
Math Monday: Decreasing - Part I - along the length

This is Enracine, a cool linen top from 2020.
Long division. Do you remember?
This Monday, I’ll be teaching you how to use long division to calculate decreases —one that is used to taper a sleeve or the body of a sweater. Next week we’ll use it for decreases along a row or round.

Sleeve schematic for Enracine
There are 3 measurements you’ll need to calculate this type of decrease: a starting point (E), an ending point (G) and the length over which you’d like the decreases to occur (F). Of course, you’ll also need your stitch and row gauge.
In the sample size, the starting point circumference was 13” [33cm]. If we multiply this number by our stitch gauge of 4.75 sts/inch, we know that our starting point stitch count is 62 sts - rounded to the nearest even number. Our ending point circumference is 9.5” [24cm]. If we multiply this number by by our stitch gauge, we know that our ending stitch count is 46 sts - again, rounded to the nearest even number. By the way, it doesn’t have to be even, but both numbers have to be the same - both odd or both even.
The difference between 62 and 46 is 16 sts, and we need to do these decreases in sets, one on each side of the “seam line” of the sleeve. This means there are 8 sets of decrease points along the sleeve for this size (16 divided by 2).

The decreases occur at the inside of the sleeve.
Now for this design, I wanted three-quarter sleeves, so the length of the sleeve for all sizes is 9.5” [24cm]. They seem shorter than normal because this design was a drop shoulder. We’ll discuss that another time. The row gauge is 8.25 rounds per inch as the sleeves are knitted in the round. It works the same way for pieces knitted flat. Decreases shouldn’t start at the first round of the piece and shouldn’t end on the last round either, so the rule of thumb is usually to leave 1” [2.5cm] at the top and bottom before the first and after the last decrease. This reduces our length by 2” [5cm]. Now we only have 7.5” [19cm] to work with.
Multiply 7.5” by our row gauge of 8.25 gives us approximately 60 rounds to work with.
Now comes the long division:

Follow the steps beginning at the top left.
Only 1 more step and we’re done!

Draw arrows that cross from the quotient and the quotient + 1 to the remainder and the difference between the divisor and remainder. This tells you that to get evenly spaced decreases, you work a set of decreases every 7th round 4 times, and every 8th round 4 times. You can alternate these - every 7th, then every 8th, then every 7th…. - or you can just work decreases every 8th round 4 times, then every 7th round 4 times.
You can also do a little math check if you want to prove to yourself it works:

Multiply number of rounds to decrease by number of times to check your answer! IT WORKS !
Now isn’t math awesome?